Installing Homebrew
Now it’s time to install Homebrew. Homebrew is a packet manager, and you can use it as a command in your terminal to install other programs needed for development, including other commands.
First, go to the Homebrew webpage on https://brew.sh. Then, click on the clipboard icon to the left where I have marked the image “Click here”

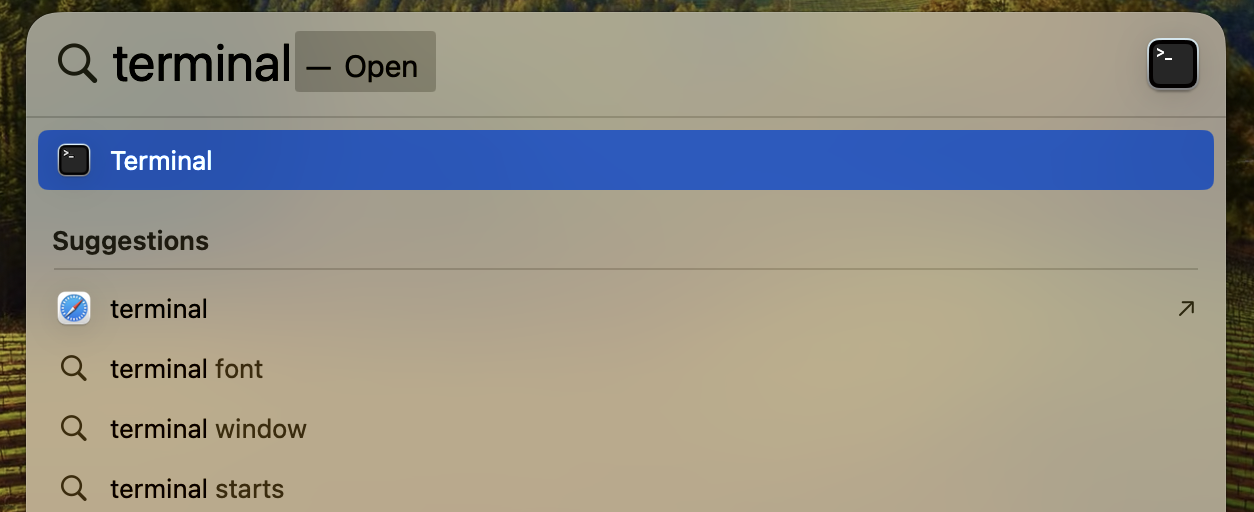
Then, open you terminal. This program can be found in your Applications folder, but it is often faster to use Spotlight by pressing Command+SpaceCommand+Space and then typing terminal. Then select the Terminal application and press EnterEnter.
Now, paste in the command you copied from the Homebrew webpage by pressing Command+VCommand+V and then press EnterEnter.
You might be prompted to enter your computer password, do this and then press EnterEnter.
You will not see that you are entering anything in the terminal, that’s the default look when entering sensitive information such as passwords. Don’t try and enter it again, as it will be entered two times.
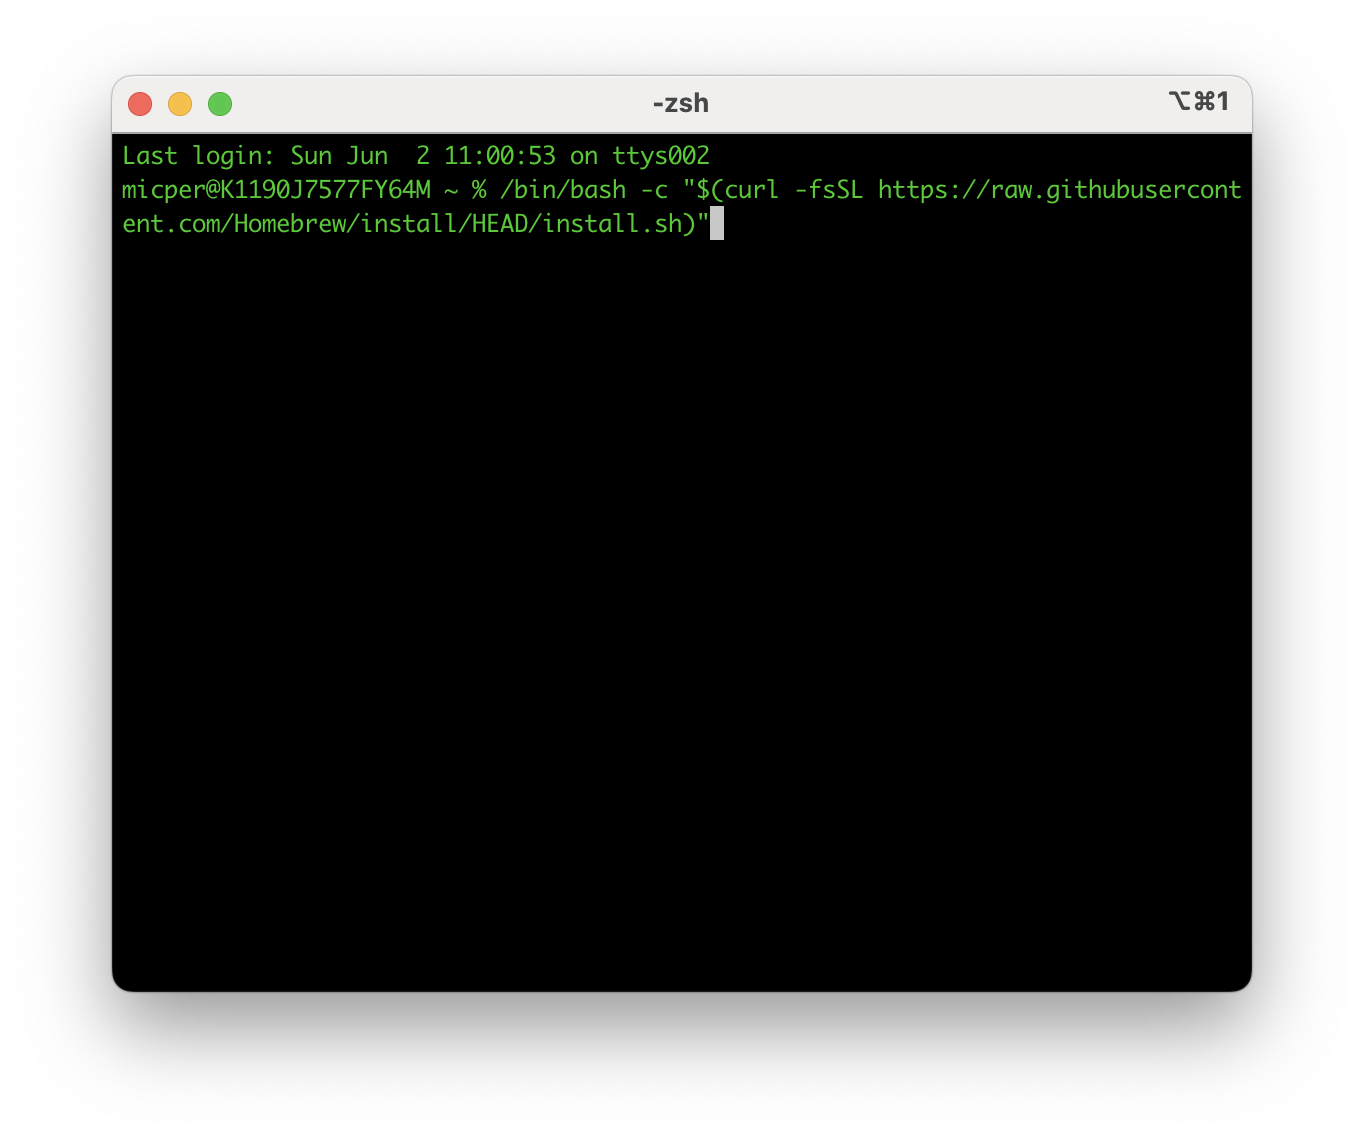
If no errors were encountered, you have now successfully installed the brew command. You might be prompted to run some commands to add Homebrew to your path. In that case, just cope-paste them and run them one by one. While we are in the terminal, let’s prepare a folder structure we will use later on. First, we will create the my_git folder where all yours and others projects will be placed.
Create my_git folder
mkdir my_gitThen, we will move into that folder, and create a new folder with your first name. This is where we will create your first project later.
Create your folder within the my_git folder
cd my_git
mkdir Michael